Contractor Tips: How to Install Tile Flawlessly
great-looking tile job takes more than just picking beautiful tile.
Preparation, planning and using the right products for the job are what
separate good installs from great installs. Remember, tile is for the
long haul. These tips will help ensure that your installation looks
great and stands the test of time.
Lingo to know:

First things first. Where will you have cuts? Make sure they won't be too small. Is the room square? If not, choose the most prominent wall and lay the tile parallel to it.
Is there a pattern to the tile? Think about where the pattern will fall and whether you want to center any fixtures or accessories on a certain part of the pattern.
Anyplace where tile ends on a wall or on an outside corner is where you'll need to deal with a transition. Stone tile can be polished for a finished edge. Many tiles have matching bullnose pieces. Figuring out how you will handle these transitions is part of the planning process, because you will need to order these pieces with your tile.

For a modern look, use Schluter's Jolly trim to cap the edge of the tile. Coordinate with the other metals in the room and make sure to compare the thickness of the tile to the trim so that it fully covers the edge without hanging over.
The L-shaped Jolly trim has a perforated flange that gets set in the thinset before laying the tile — no fasteners are necessary.

Tile is heavy. Make sure your floor joists can handle the weight and put down ¾-inch plywood with ½-inch cement board embedded in thinset on top.
If the floor is in a spot prone to movement (for instance, where an addition meets the original house) consider installing a crack isolation membrane as well.

Continue reading...
Lingo to know:
- Thinset: Mortar used to set tiles
- Screed: A flat wood or metal board used to level mortar or concrete before it dries
- Grout: A mixture of water, sand and cement that seals the joints in tile work
- Cut: Tiles that must be trimmed to fit against a wall or other obstruction
- Square to: Lay tile parallel to
- Jolly trim: A finishing and edge-protection profile for the outside corners of tiled surfaces
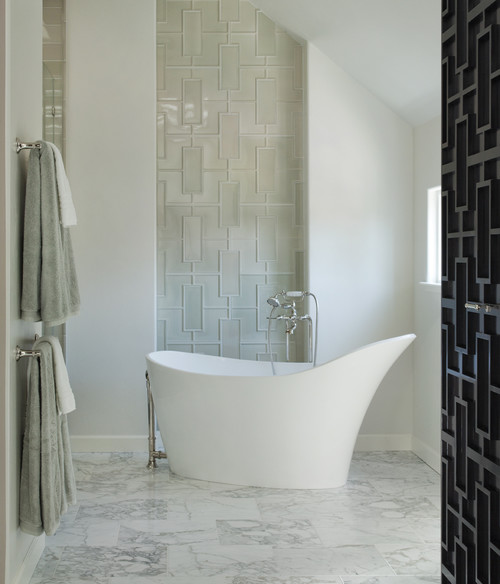
First things first. Where will you have cuts? Make sure they won't be too small. Is the room square? If not, choose the most prominent wall and lay the tile parallel to it.
Is there a pattern to the tile? Think about where the pattern will fall and whether you want to center any fixtures or accessories on a certain part of the pattern.
Anyplace where tile ends on a wall or on an outside corner is where you'll need to deal with a transition. Stone tile can be polished for a finished edge. Many tiles have matching bullnose pieces. Figuring out how you will handle these transitions is part of the planning process, because you will need to order these pieces with your tile.

For a modern look, use Schluter's Jolly trim to cap the edge of the tile. Coordinate with the other metals in the room and make sure to compare the thickness of the tile to the trim so that it fully covers the edge without hanging over.
The L-shaped Jolly trim has a perforated flange that gets set in the thinset before laying the tile — no fasteners are necessary.

Tile is heavy. Make sure your floor joists can handle the weight and put down ¾-inch plywood with ½-inch cement board embedded in thinset on top.
If the floor is in a spot prone to movement (for instance, where an addition meets the original house) consider installing a crack isolation membrane as well.

Continue reading...

